 It’s not generally my habit to write blogs on subjects I’m not an expert on, or at least reasonably competent at, but ‘making your own band video’ is something I’ve been through and thought it might be helpful to share the process with anyone who’s considering doing the same. There were some excellent lessons I learnt along the way which are definitely worth passing on to first-time video makers.
1) Stop thinking like musicians organising a gig and start thinking like a director/storyboard writer/lighting technician/wardrobe department/continuity person etc. If the band are equally invested in the outcome, each one of you could take on one of these roles, as long as communication is transparent between you. If you’re on a tight budget and not bringing in a DP (director of photography), then you’re going to have to fill all these roles and more. Worried about micro-managing? DON’T BE! Nothing is too insignificant if you want a successful shoot. That said, WHENEVER PHYSICALLY POSSIBLE, TRY TO BUDGET FOR A DP, or if you’re lucky enough to be good friends with one, get them on board by hook or by crook! A good one is worth her/his weight in gold.
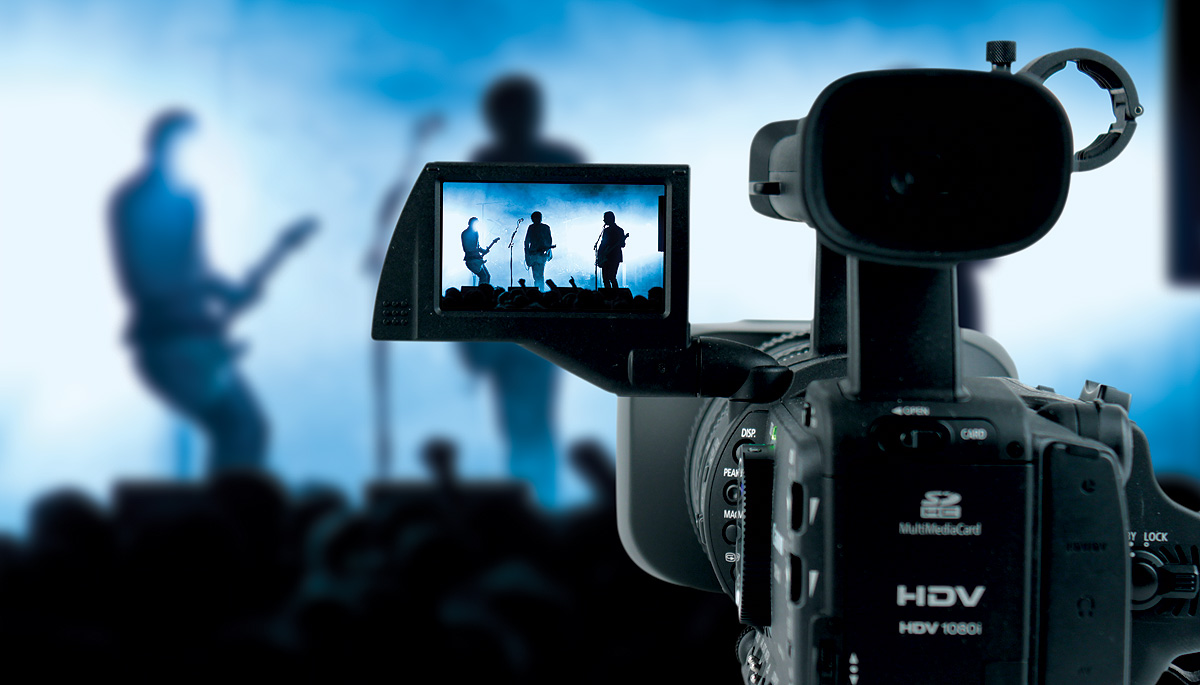
2) Carefully plan your camera work. If it’s a self-shoot, decide what camera you’re using and organise a pre-hire/buy well in advance to try and get to know it. I bought an SLR which shoots video, as it’s a less expensive option, yet can provide great results for the level of investment. If you’re not using a DP, designate a camera person and make sure they know what you’re after. Bringing some friends or family members to help you shoot is a good idea, but make sure they have some aptitude for camera work! Setting up a few practice shoots beforehand is not a bad idea either. Try shooting a friend’s band at a gig maybe, but make sure you get permission from everyone concerned. If you can think that far ahead, it’s definitely worth storyboarding some aspects of the shoot, for instance panning shots or particular angles (arty shots etc), although make sure there’s plenty of leeway to capture the magic too.
3) Don’t shoot in a rehearsal studio! It’s unlikely that the space you rehearse in is suitable for making your own band video. To get good camera shots requires ceilings much higher than the average rehearsal space with plenty of room around the edges to move around the band and back away from them. It’s totally worth spending a bit extra on a space designed for photo shoots/video work, and these spaces often come pre-fitted with lighting and an infinity cove etc. Make sure the space has all the PA requirements you’ll need though, as some photographic spaces will not provide this and you’ll need to hire it in.
4) Recording and filming live vs miming. Yes, I KNOW in an ideal world some of us would prefer to shoot and record all at the same time. This is definitely possible, but is going to cost you a SHED LOAD more. For a start, you’ve no real choice about hiring a DP in this scenario, as you need real experts on board (check with your DP that they’re experienced at this side of things, as this is NOT something they can ‘busk on the day’). Recording everything live will entail hiring in a mobile rig with multi-tracking capabilities, technicians with a good knowledge of syncing to video and some expensive interface equipment capable of doing just that. The video cameras necessary for this kind of work are a LOT more expensive to buy/hire, more complicated to operate etc and it’s also going to take forever to mix the audio and match takes up before you can even START on the video editing. Trust me, if you can mime to a pre-recording, it’s going to save a bundle of time, money and energy!
Please follow this link for part 2. If you like this blog, please head to our ‘subscribe‘ page and join our mailing list. You’ll be kept up to date with new posts, offers exclusive to members and free goodies such as tickets to gigs and mp3s etc.